1. Map out the tasks being performed at the workbench.
2. Think about which supplies need to be stored at the workbench and where the most logical place for them would be. A smooth workflow is highly beneficial for the speed and ease with which tasks are performed.
3. Who will be working at the workbench? Ensure that the workbench is at the correct height, and that supplies are stored at the right height and location to avoid stretching and poor posture.
If you're unsure, feel free to contact our workplace specialists.
They can provide a no-obligation consultation. Or we can design your ideal workbench for you, of course with your input and prepare it for you in the 3D configurator. We are happy to assist you in any way that will help you optimize your workbench for a successful outcome.
Did you finalise your design?
Once you submit your design, you will immediately receive a 3D drawing and item list, along with a link to view and edit your design in your inbox. Shortly after, you will receive a personal email from our workplace specialist with a price estimate. If you find it convenient, we can also prepare your ideal workbench directly in your online ordering environment. This way, you have all the information at hand and can quickly take action.
Start your design! It's very simple. In just a few steps, you'll have designed your ideal workbench. No downloads are necessary, and the software is completely free. Let's get started!
Click here for the 3D configurator
How does the 3D workbench configurator work?
The Treston 3D configurator is easy to use. Start by selecting the workbench you want to design. The Treston 3D configurator offers a wide selection of workbenches. In step 5 of the design process, you can add another product and configure it to your liking.
1. Select the product that best suits the purpose you intend to use it for.
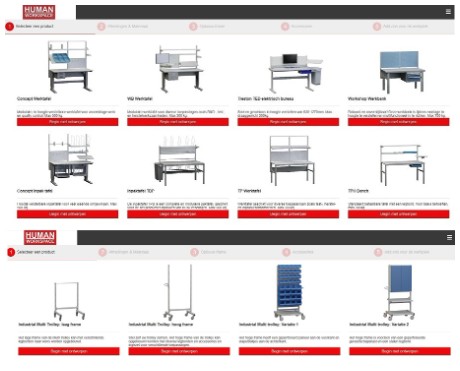
Choose the workbench frame that best meets your needs. There are various options available for different tasks and specific work environments. The Concept workbench is multifunctional and a good choice for almost any type of work. The Workshop workbench is recommended for working with heavier products. Click here for more information about Treston's workbenches.
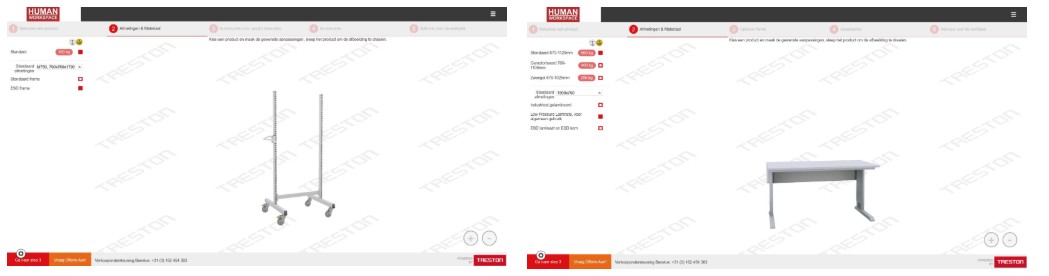
2. Select the desired size of the frame.
Choose the desired size for the frame and whether the frame should be ESD-safe. You you can also select the material for the work surface and the method for adjusting the height of the workbench.
3. Select the frame and accessories
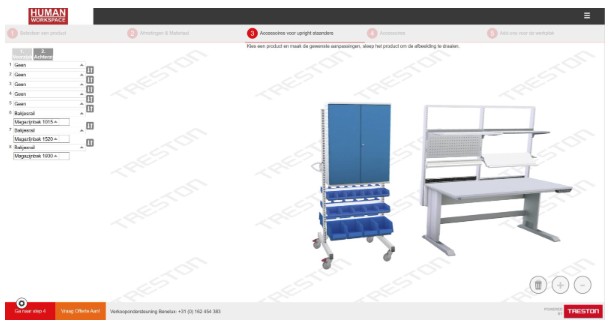
When designing a workbench, you can choose a frame that is attached to the workbench and used to mount accessories, thereby creating more space on the work surface. Various frame options are available in different height and width sizes. In this step, you can add the frame and the desired accessories.
4. Complete the workbench with accessories
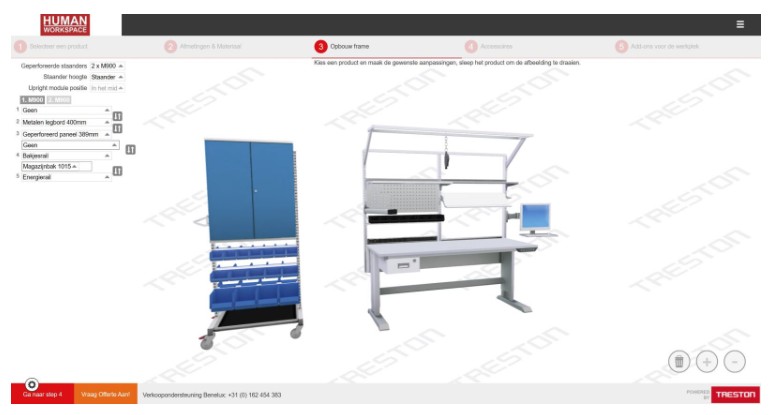
Combine shelves with perforated panels, lighting, power strips, and containers, and see how your workbench comes together on the screen.
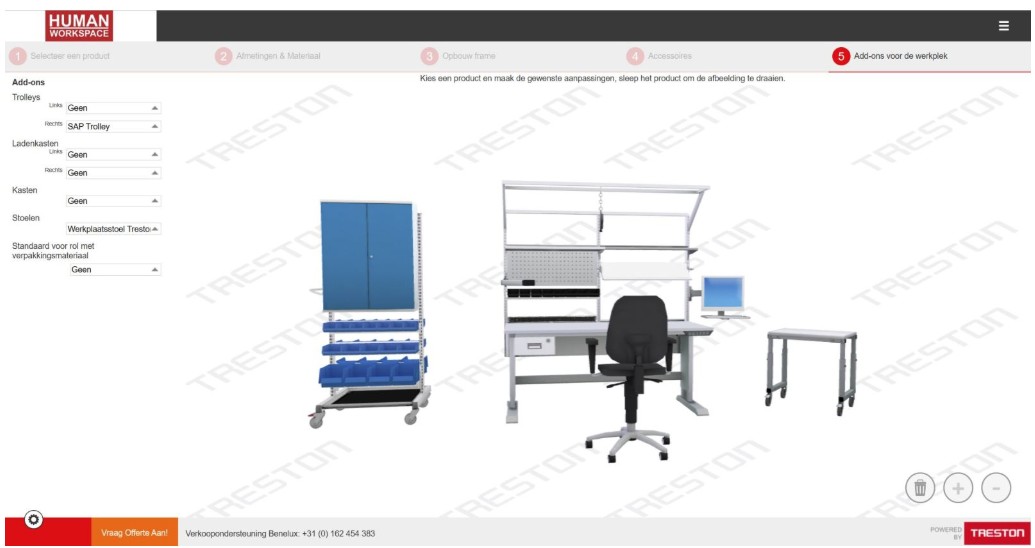
5. Finally, add products to the workspace
Once your design is complete, you can add individual products to your workspace in this final step, such as trolleys, drawer cabinets, storage cabinets, and chairs. In this step, you can also add another product to design if desired. For example, if you've designed a workbench, you can add a trolley here and design it, or vice versa.
You have now completed the design for your ideal workspace. You will immediately receive an email containing a 3D drawing of your design, a product list, and a link to view and edit your design. Our workspace specialist will begin working on the quote, which will appear in your inbox within 24 hours. Simple!
If you're still unsure or have a specific question, feel free to contact our workspace specialist.
And did you know that our website features various workbenches designed by the workspace specialist that you can adjust to your preferences? If you have an account, you can order them right away!